

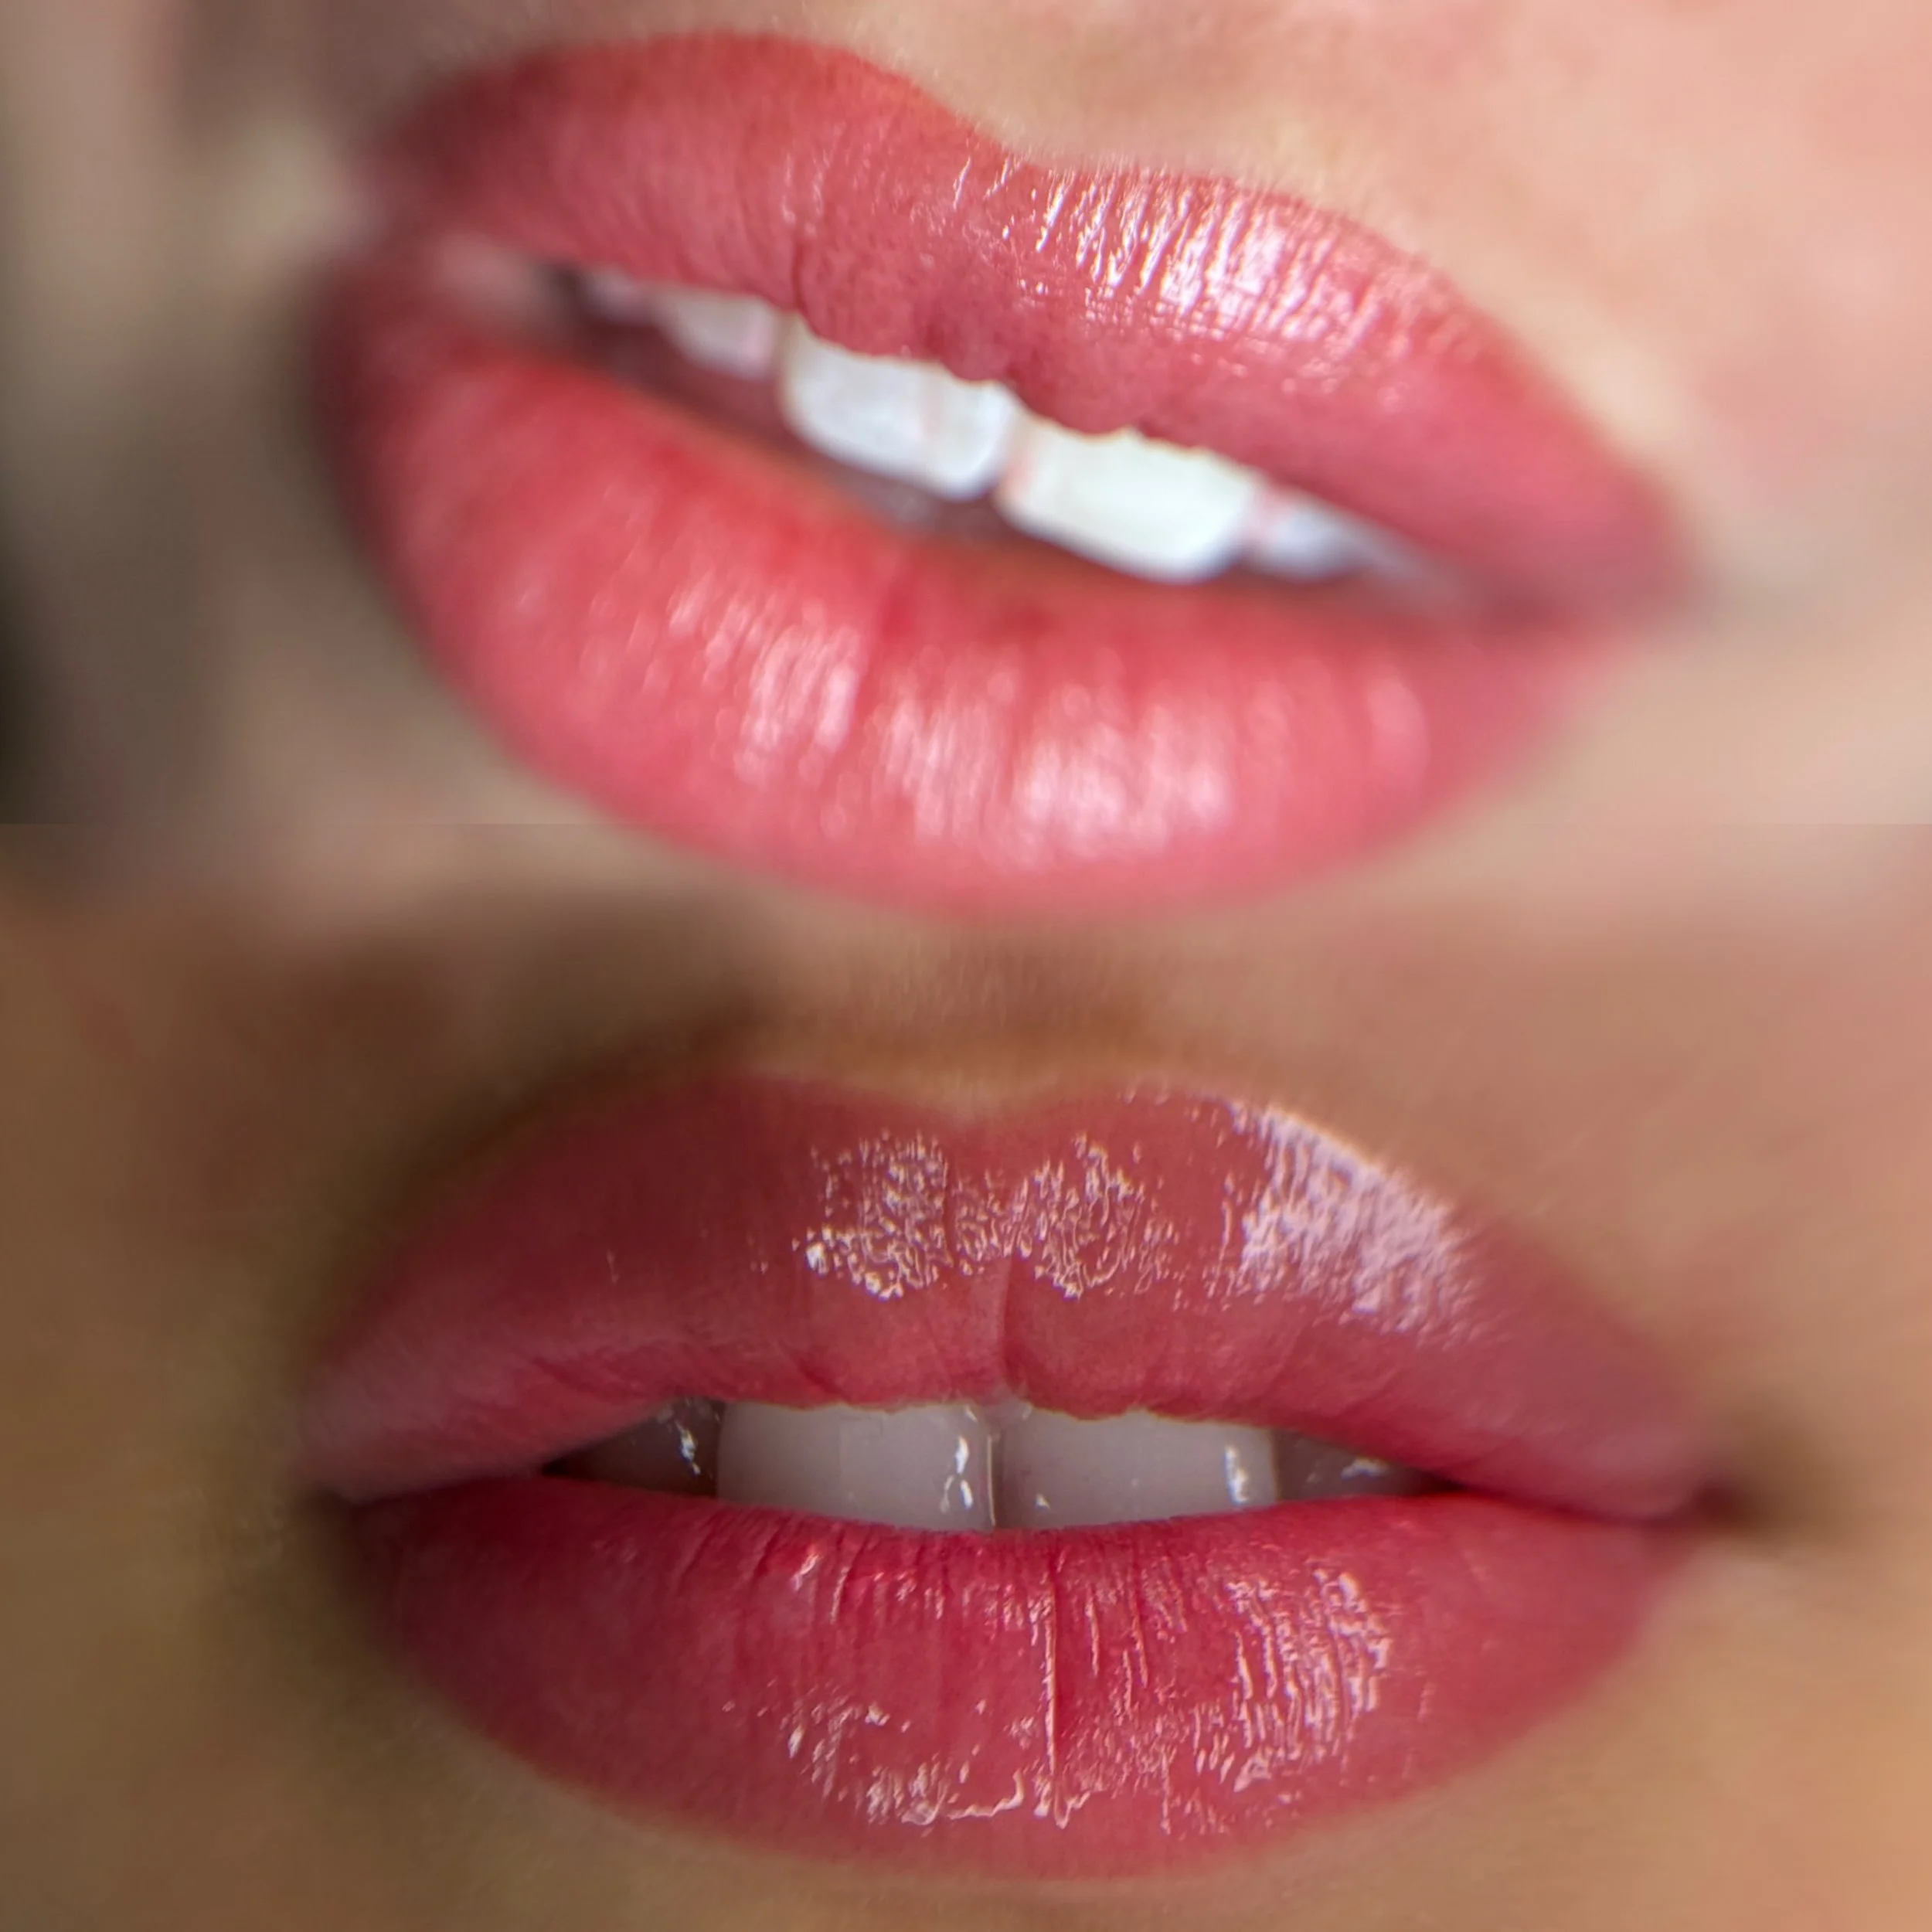
LIP CARE GUIDE
-
PREPARE YOU LIPS FOR BEST RESULTS
7 DAYS BEFORE
Gentle exfoliation of the lips EVERY second day with daily with a lip scrub - morning or evening. You can make your own using soft brown sugar and honey/coconut oil
Apply a thin layer of nappy rash cream (Bepanthen) to lips every night for the full 7 days leading up to your appointment.
Stop all active skincare ingredients on or near the lip area - retinol, AHAs, BHAs, vitamin C. 3-5 DAYS BEFORE
Stop blood-thinning supplements: fish oil, vitamin E, arnica, turmeric, and similar.
Stop any blood-thinning medications if safe to do so - consult your doctor first.
No alcohol for at least 24 hours prior.
COLD SORE HISTORY
If you have EVER had a cold sore, you must start antiviral medication before your appointment. Speak to your pharmacist or doctor about a prescription.
Do not book without treating this first - tattooing can trigger an outbreak.
LIP FILLER
No lip filler 4 weeks before or 4 weeks after your appointment.
DAY OF APPOINTMENT
Arrive with bare lips - no lipstick, no liner, no gloss.
-
WHAT TO EXPECT
ARRIVAL
Arrive on time with bare lips and no products applied.
Bring a snack if you prefer to eat during a break.
Wear comfortable clothing - you will be lying back for 1.5 to 2.5 hours.
THE PROCEDURE
Your artist will cleanse and prep your lip area thoroughly.
Colour and expectations will be discussed along with lip mapping will be drawn and approved by you before any tattooing begins.
Topical numbing is applied. Initial passes are made, then a secondary numbing is used on the open skin.
Most clients describe the sensation as a light scratch or vibration. Lips are one of the more sensitive areas.
Colour is built in layers. The process is thorough and precise - allow time.
IMMEDIATELY AFTER
Your lips will look significantly bolder and more saturated than the final healed
result.
Some swelling and tenderness is completely normal for 24 to 48 hours.
Do not panic at the initial colour - lips typically heal 30 to 50 percent softer.
You will leave with aftercare instructions and care pack.
-
Healing Your Lips with the aftercare kilt provided
KIT CONTAINS, Reusable straw and cleaner, aftercare balm, lip wands, alcohol wipes and water activated face cloths.
Lips cannot have direct contact with food or fluids for 72 hours post procedure, use straw for all fluids (keeping straw cleaned at all times, and use utensils to get food past the lips this helps mitigate and potential bacteria risks to the lips.
Days 1-10
DAILY ROUTINE (DAYS 1-10)
Apply a thin smear of provided aftercare balm. Thin is the word - do not smother. The lips are an open wound that needs air.
Repeat this as needed daily for 7 to 10 days.
WHAT TO AVOID
No picking, peeling, or rubbing. The skin will flake naturally - let it fall on its own.
No lipstick, lip products, or makeup on the lip area until fully healed (10 to 14 days).
No spicy food, salty food, or anything acidic for the first week.
No swimming, saunas, or heavy sweating for 14 days.
No direct sun on healing lips. SPF once healed.
No kissing or friction on the area in the first 72 hours..
HEALING STAGES
Days 1-2: Lips feel tender and look very bold. Swelling is normal.
Days 3-5: Colour begins to flake and peel. This is normal. Do not pick.
Days 6-10: Peeling settles, lips look lighter and patchy - this is part of the process.
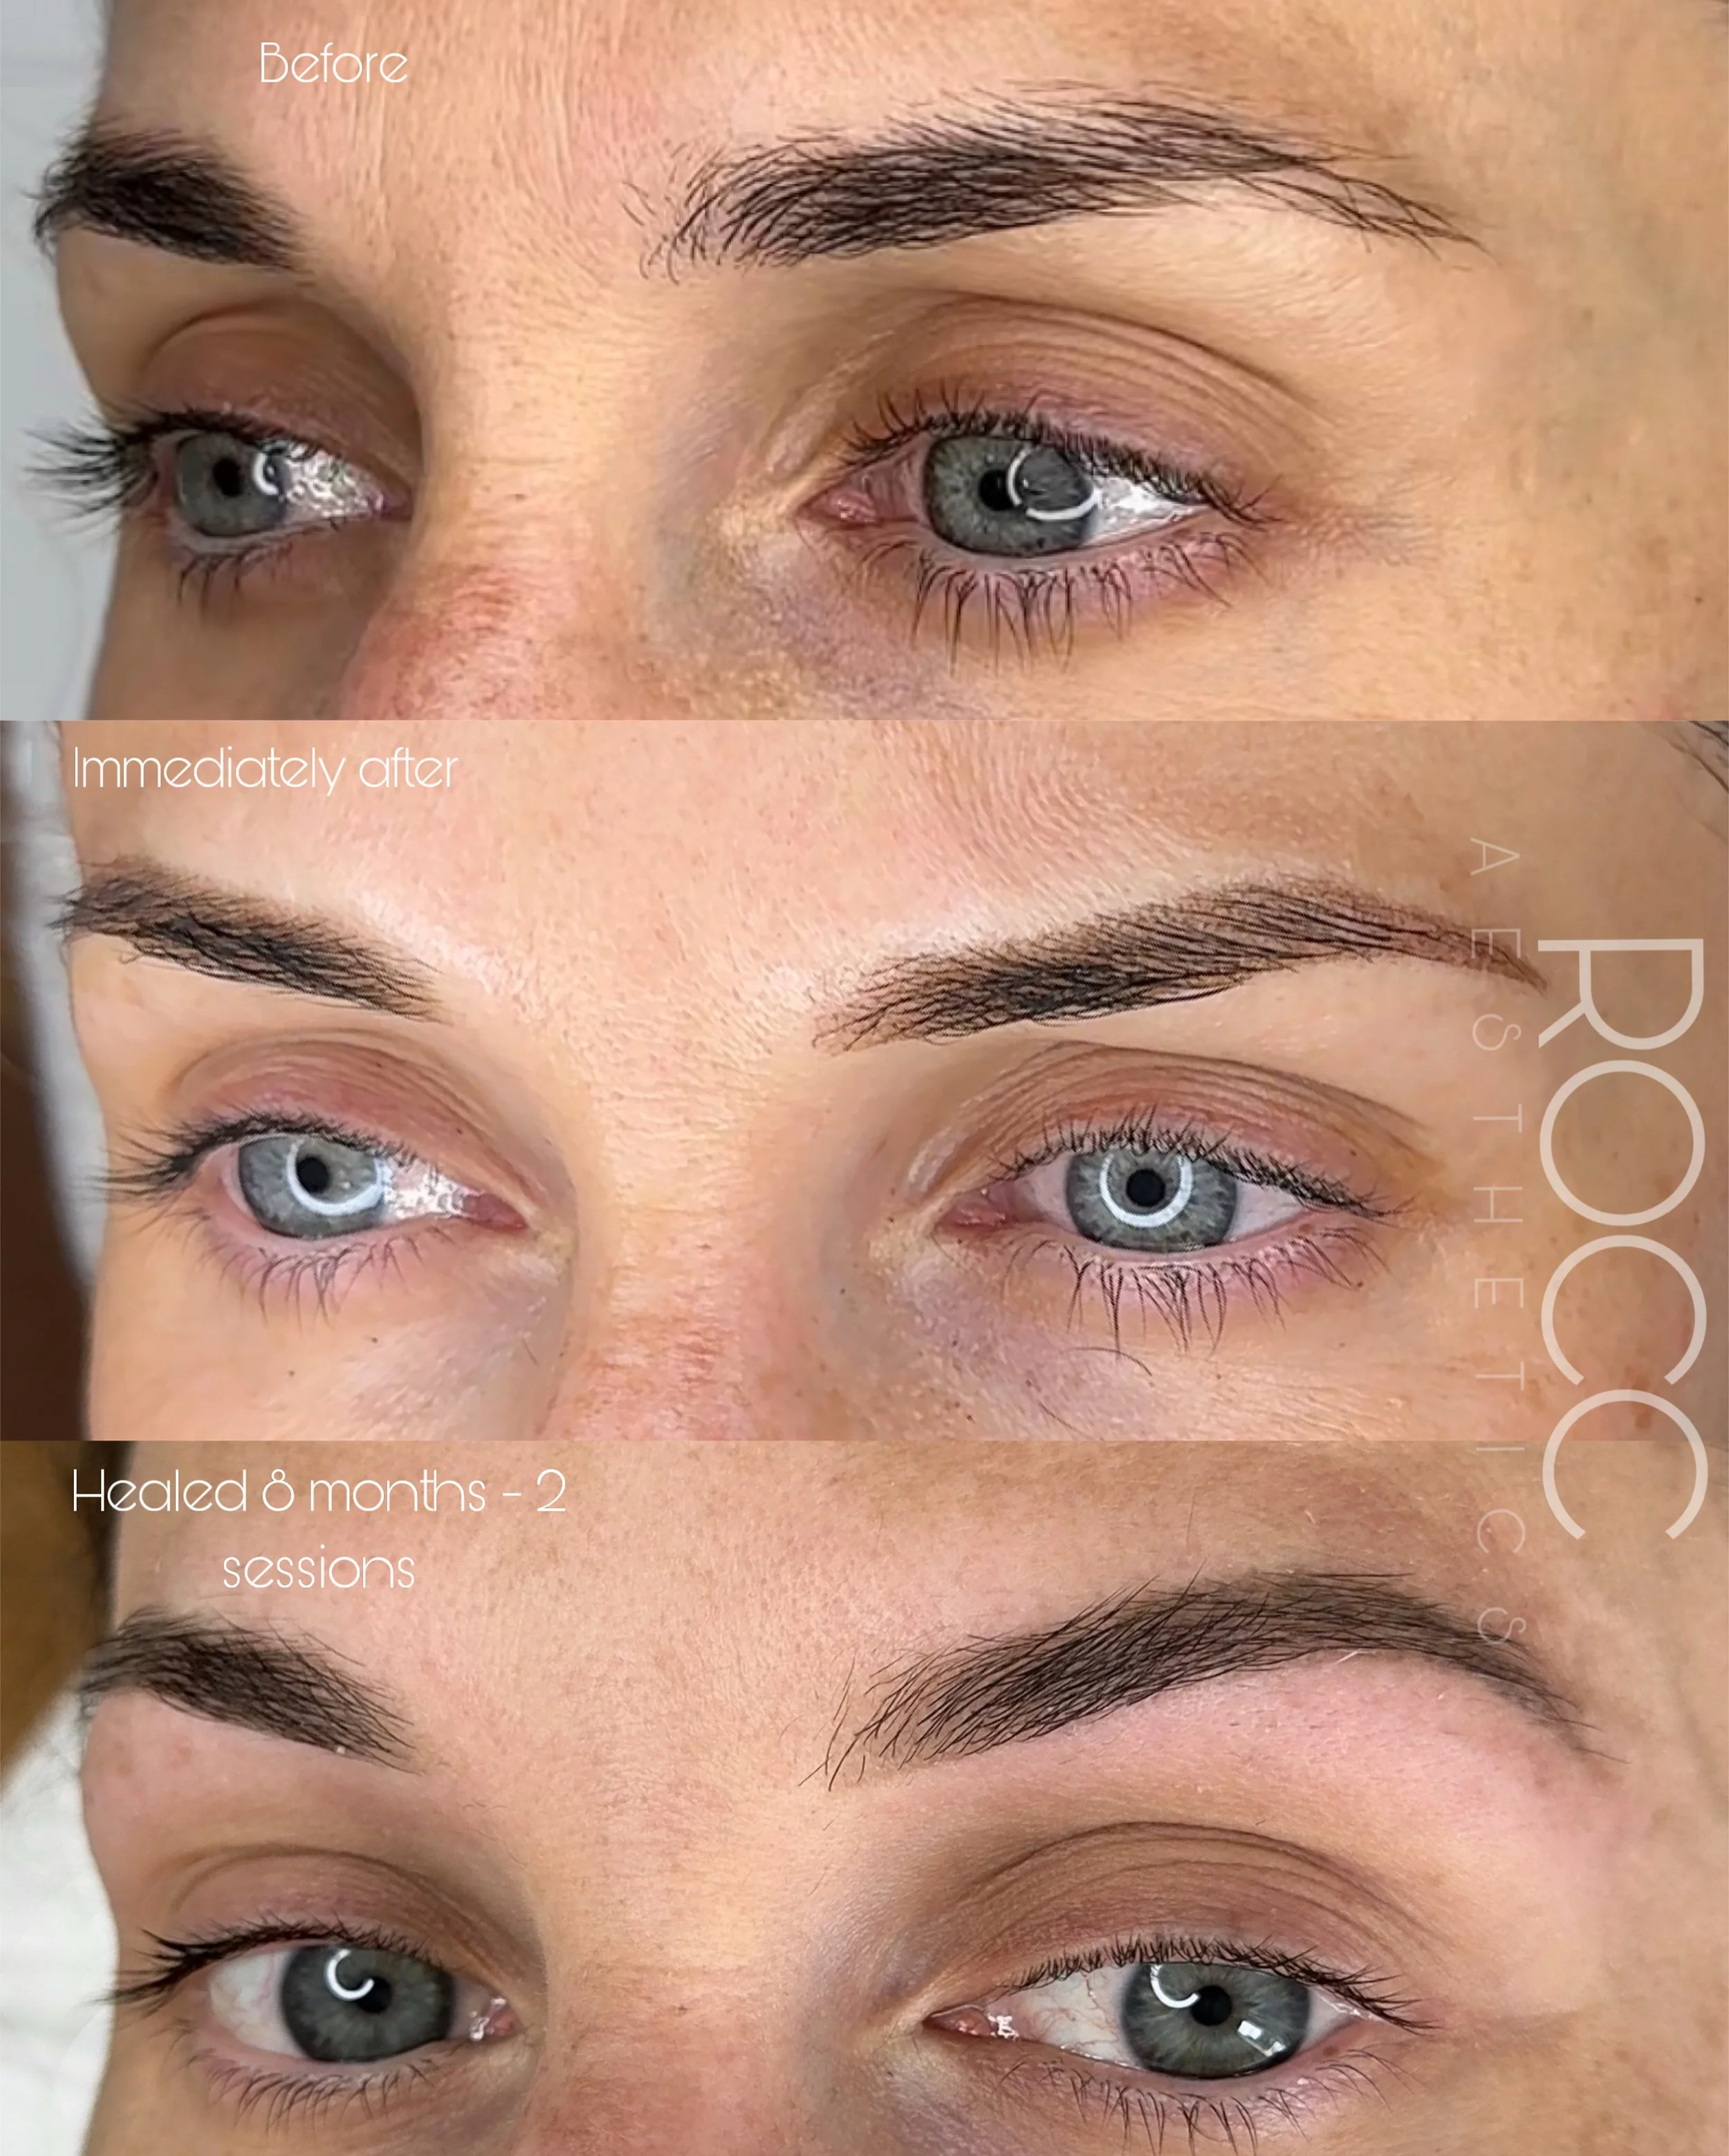
BROW CARE GUIDE
Which Training is Right For You?
-
Never trained in brow tattooing before? Start here. This 3-day course is for complete beginners and covers everything from the basics to confidently working on models — including 6 weeks of follow-up modules and a return model day.
-
For artists who’ve already trained in machine brows with 6 months + experience — ideally in person. Online course grads can apply, but prior model experience is a must. This is all about refinement and learning some of Lisa’s signature methods.
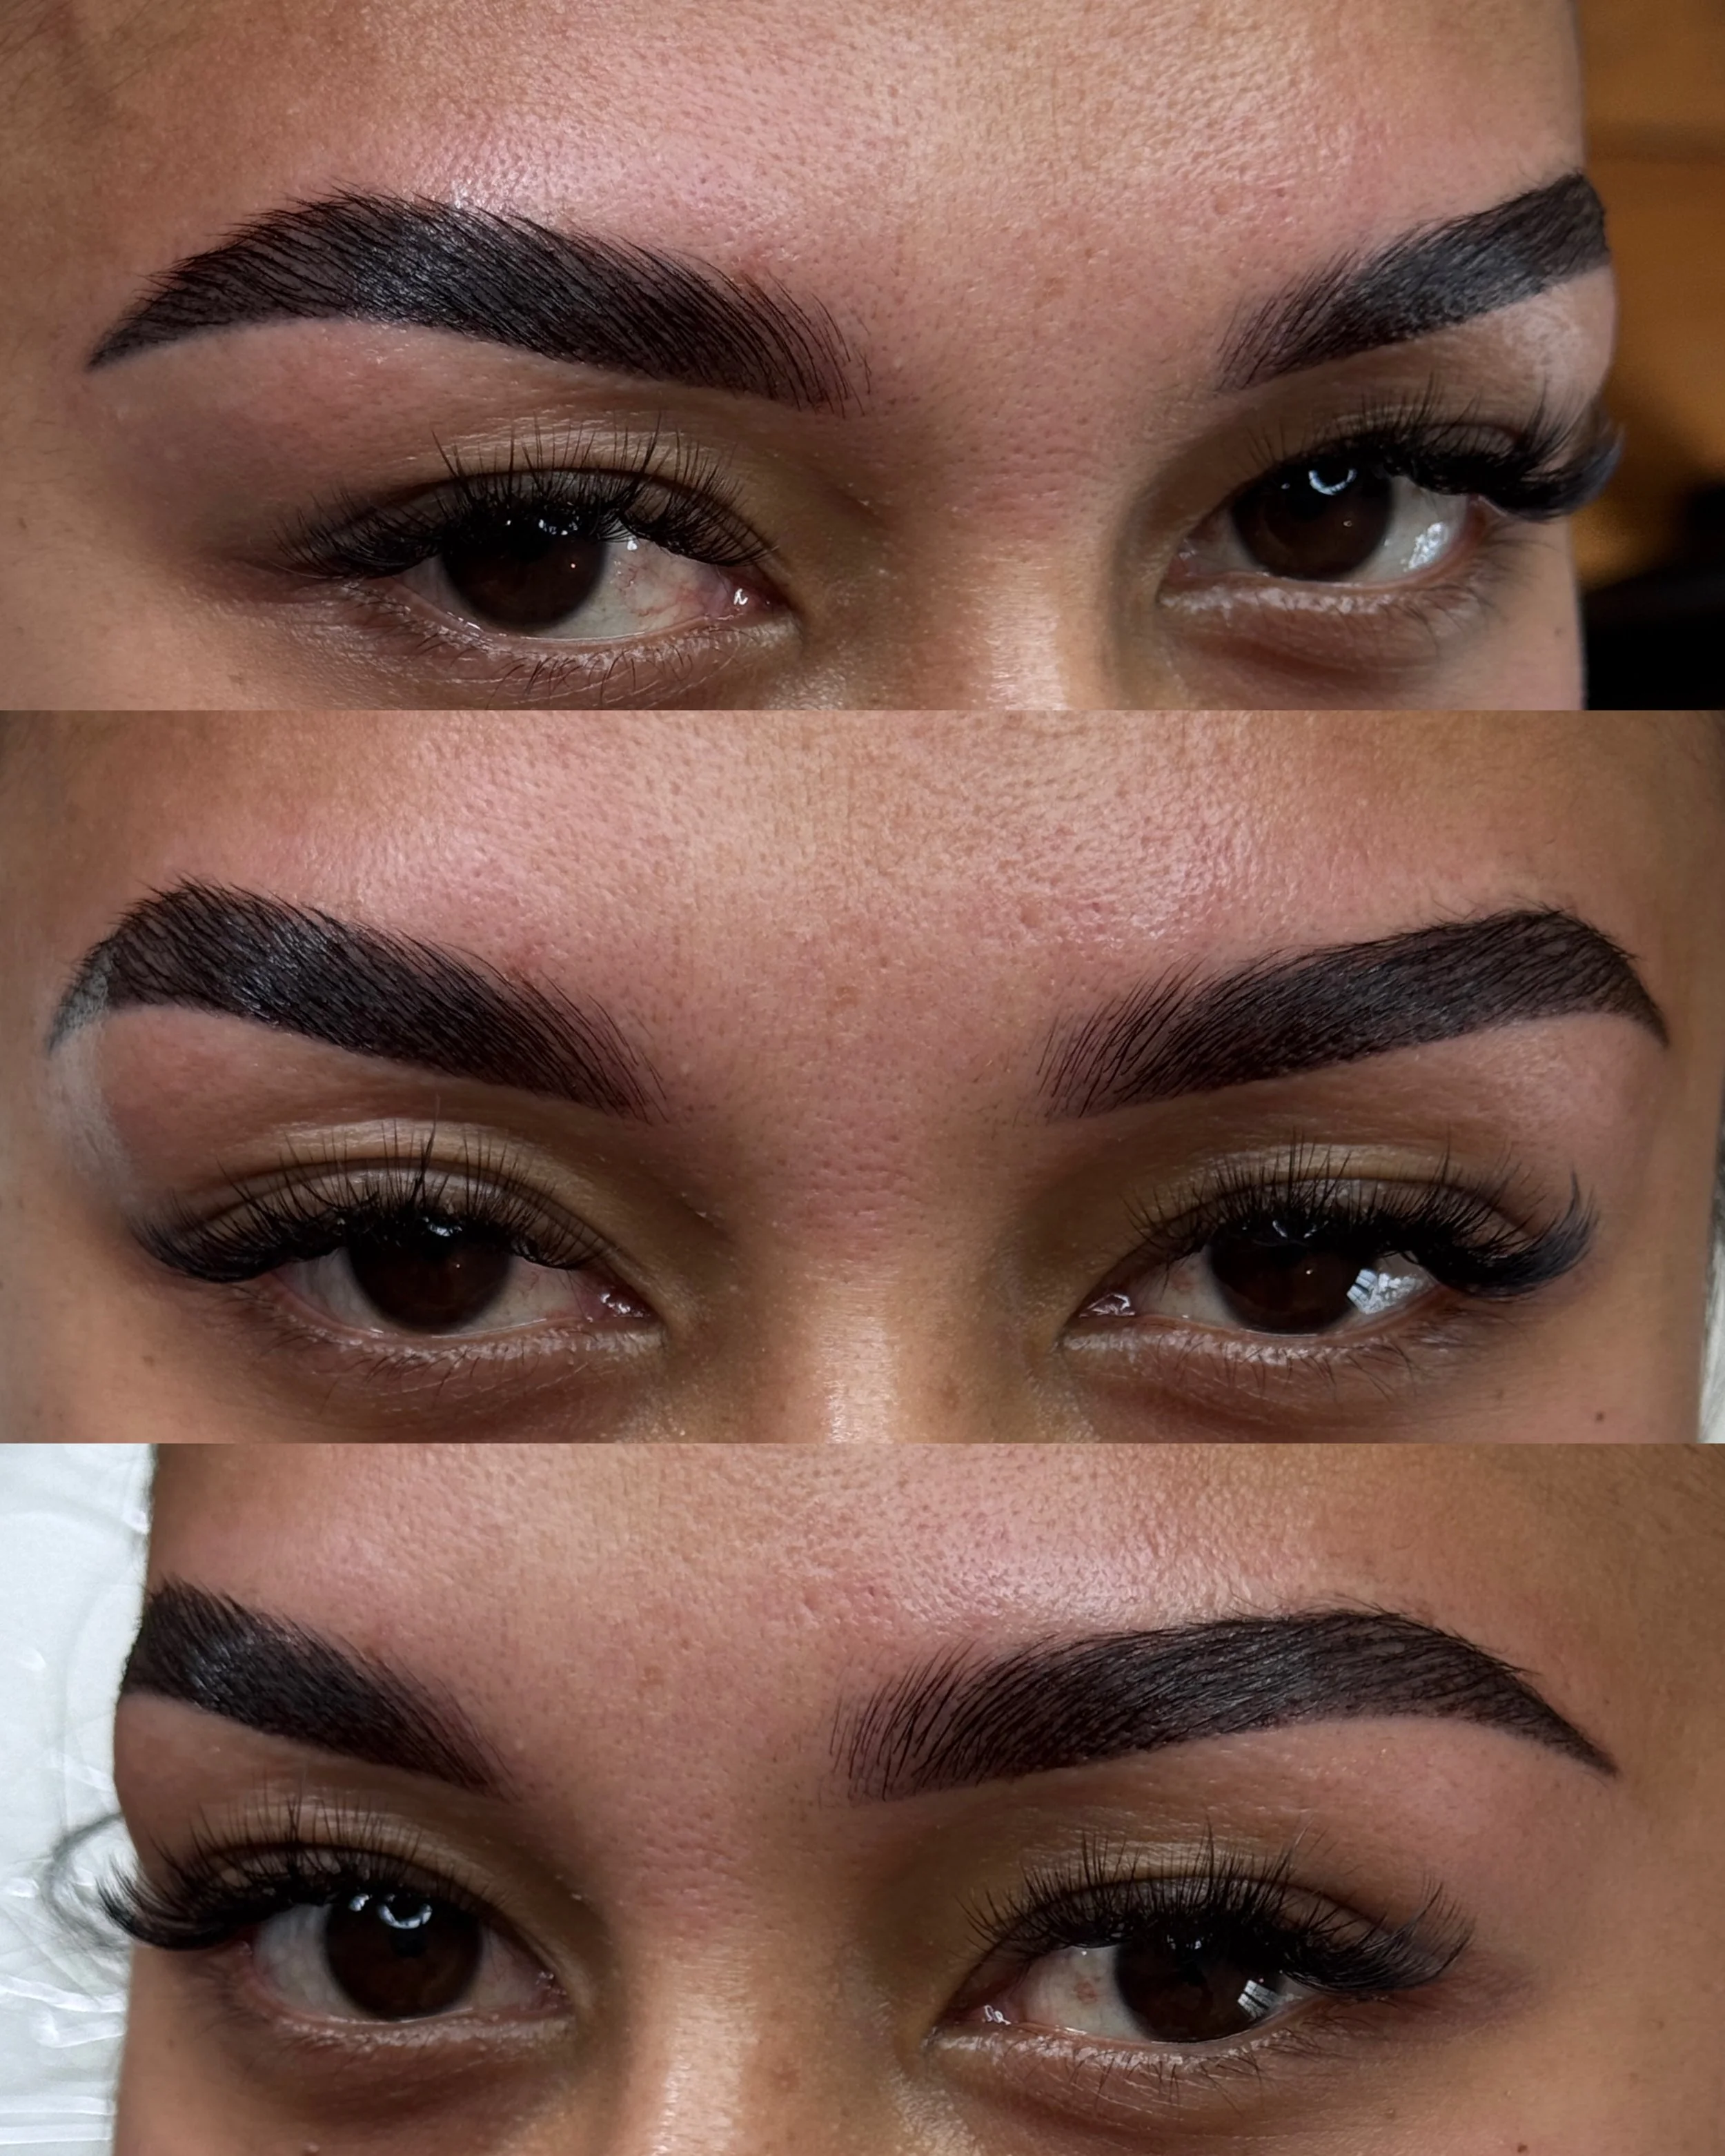
BROW Styling 101
Perfect for artists looking to expand their service menu or those new to beauty who want to master professional brow styling. This course covers mapping, lamination, hybrid stain, shaping, and Lisa’s signature styling techniques.
-
Thinking of levelling up? Whether you’re an artist wanting to expand or someone brand new to beauty, my Brow Styling Course gives you the tools and techniques behind my signature lamination + stain styling approach. This is for anyone who wants to master brows that last, stain that holds, and mapping that actually makes sense.